Monument Valley Stitching
In 2014 my wife and I made a trip to Monument Valley, located on the Arizona Utah border. You’ve probably seen pictures of this area. The landscape there is truly otherworldly. Although I don’t consider myself a landscape photographer, I took many pictures while in the area.
Once back home, my wife was very eager to have one of the images I shot printed and framed for our house. She wanted something BIG to put on one of the larger walls in our home. “Well, I’m glad I shot some of the landscapes using a 45mm perspective control (tilt-shift) lens” I thought. Let me explain why. But before I do, some background (or a refresher for those more experienced):
Generally, a NATIVE pixel resolution of at least 300 liner ppi (pixels per inch) is what is considered optimum for print making. Notice I say ‘native’ resolution. Native resolution refers to the original effective pixels produced by the camera- the file’s pixel dimension. My Nikon D810 has a capture pixel resolution of 7360 by 4912…. 7360 multiplied by 4912 = 36,152,320 million pixels. If I were to make a print using all the native pixels my camera outputs, and I printed at 300 ppi, I would get a print size of approx.. 24.5” by 16.4”. That should give me a beautifully detailed enlargement (assuming, of course, the capture was sharp, properly exposed, etc). In reality though, one seldom uses ALL the pixels of the image- usually the image gets cropped to some degree, which will cut down on your pixel count. Pixels can be added in post processing software by upsampling, but upsampled pixels are not native, they are ‘made up’ by the software being used, which usually leads to loss of detail and, ultimately, pixelation. Note, however, that upsampling, in moderation, can yield very, very good results.
Okay, back to why I was happy that I used the 45 pc lens-
As I said, my wife wanted a very large print, much larger than 24 x 16”. If I used one of the single exposures I shot and made a print larger than 24 x 16”, I would have had to upsample the file. This would mean I’d have to compromise on the native 300 ppi rule (the amount of compromise would, of course, depend on the size of print I made). One simple solution to get a higher native pixel count (without buying a higher resolution camera) is to use multiple images and stitch them together in post processing. This has become a very common practice. And that’s exactly what I did. But what made my effort a little unique is that I stitched together two images that were shot with the camera in the exact same position. All I did was move the LENS for each exposure. You see, with the ‘shift’ capabilities of the lens (the Nikon PC-E Micro NIKKOR 45mm f/2.8D ED), one can capture an image with the lens shifted (positioned) to the extreme of one side, then capture an image with the lens moved to the extreme of the other side. I did this with the camera in a horizontal position shifting left to right. This resulted in quite an overlap in the middle.

The Two Single Exposures
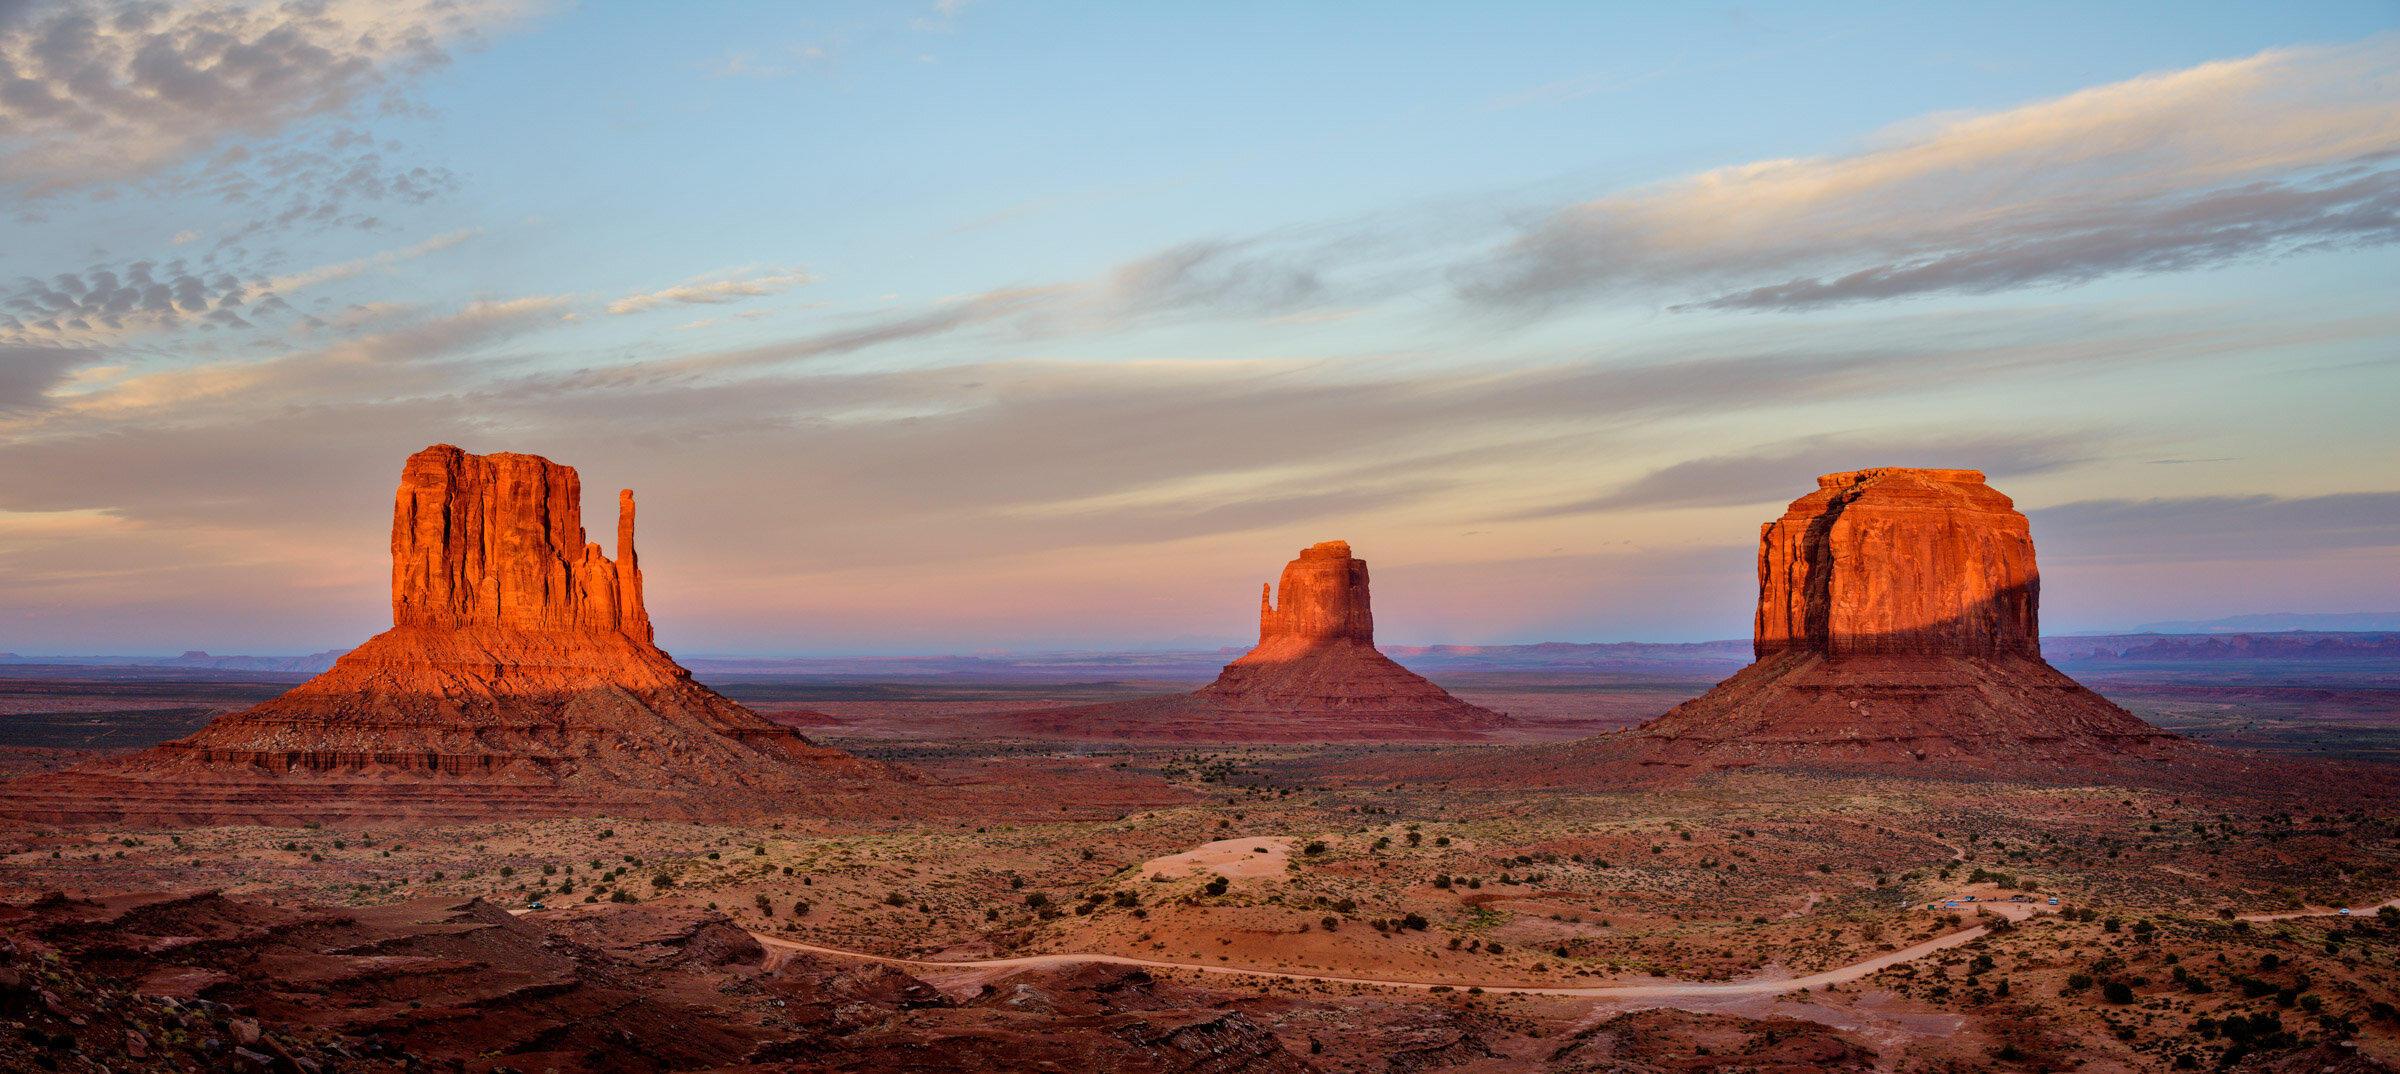
Combining the two images (with the overlap) gave me an approximate field of view as if I had made a singe exposure of the scene using a 36 mm lens. Once I stitched the images together in Photoshop (which is super easy because they align almost perfectly), and after a bit of cropping, I had a file with a native pixel dimension of 10,814 x 4838. Now, if we take that pixel dimension and divide each number by 300, that gives us almost exactly 36 x 16. In other words, I can make a 36” x 16” print at 300 ppi without having to do any upsampling in post. Can you guess the size of print I settled on making?... You got it- 36” wide by 16” high. By the time I had the print matted and framed, the overall size, as it hangs on our dinning room wall, is 5 feet wide by 3 feet tall.
My wife was pleased, it met her criteria of size, and I was pleased because it met my criteria of quality. Win win!